
In this post, we will walk through the steps of setting up an OpenVPN server on an Ubuntu 20.04, 22.04 or 24.04 machine (it should work for older versions as well 🤞). Additionally, we will provide some context around VPNs, EasyRSA, and the cryptographic mechanisms involved in the process.
Introduction to VPN and OpenVPN
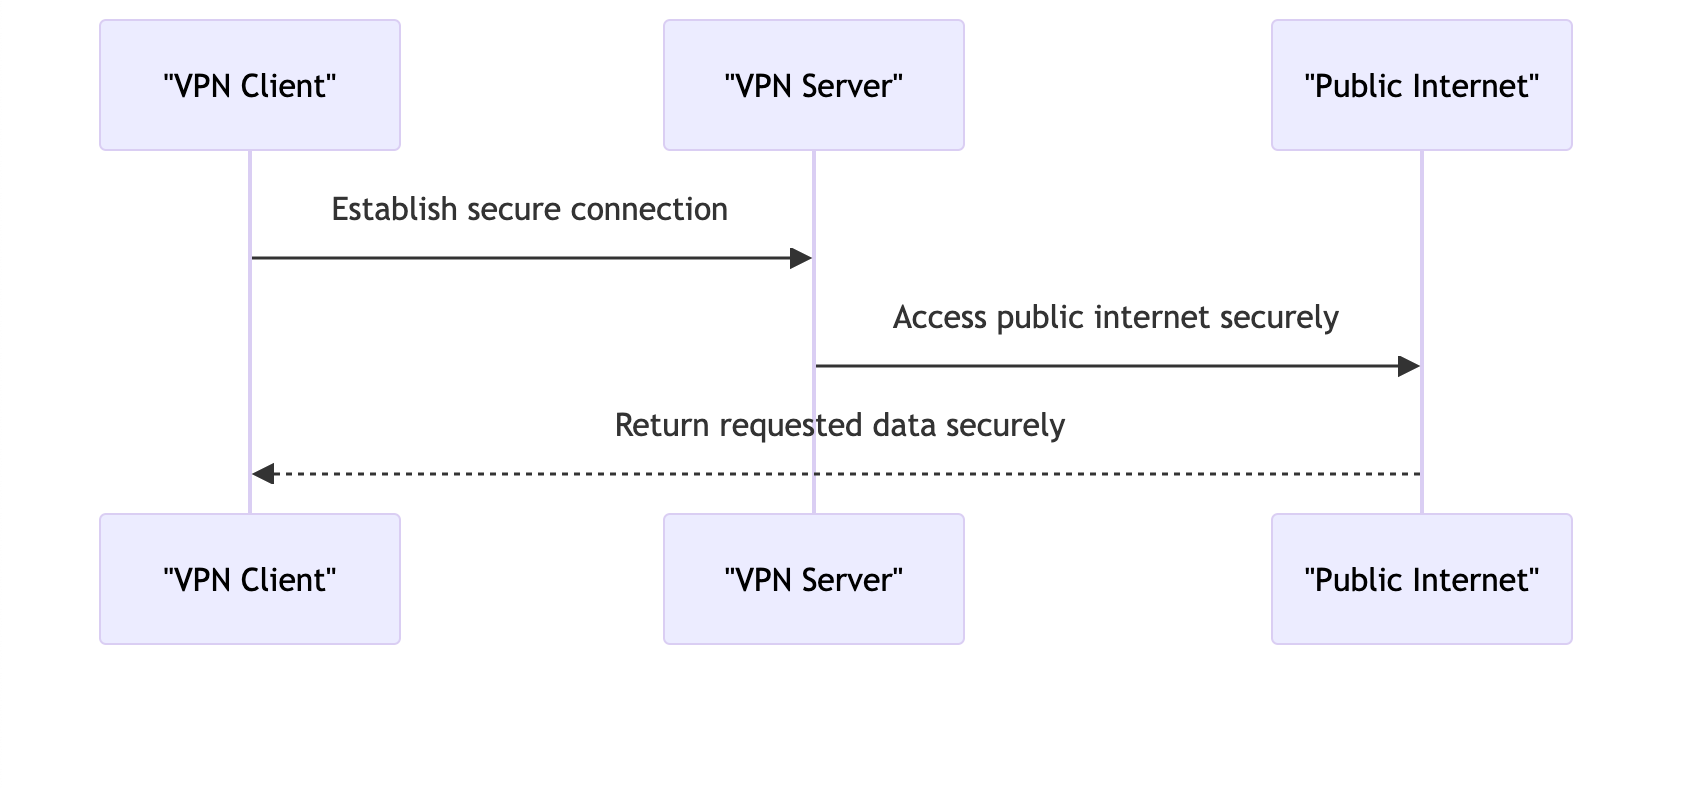
A VPN, or Virtual Private Network, is a technology that allows you to create a secure connection over the internet. OpenVPN is an open-source VPN protocol that is widely used for creating VPN servers and clients.
EasyRSA
EasyRSA is a command-line tool that is used for managing Public Key Infrastructure (PKI). In the context of OpenVPN, EasyRSA is used to create and manage the cryptographic keys and certificates that are required for a secure VPN connection.
Setting Up an OpenVPN Server with EasyRSA 3
Here are the steps to set up an OpenVPN server with EasyRSA 3 on an Ubuntu 20.04 server.
Step 1: Install OpenVPN and EasyRSA
sudo apt update
sudo apt install -y openvpn easy-rsa
Step 2: Set Up the EasyRSA Public Key Infrastructure (PKI)
make-cadir ~/easy-rsa
cd ~/easy-rsa
Step 3: Initialize the PKI
./easyrsa init-pki
Step 4: Generate the Certificate Authority (CA) Certificate and Key
./easyrsa build-ca
Step 5: Generate the Server Certificate and Key
./easyrsa gen-req server
Step 6: Sign the Server Certificate with the CA Certificate
./easyrsa sign-req server server
Step 7: Generate Diffie-Hellman Parameters
./easyrsa gen-dh
Step 8: Generate the TLS Auth Key
openvpn --genkey --secret ta.key
Step 9: Copy the Certificates and Keys to the OpenVPN Server Directory
sudo cp pki/ca.crt /etc/openvpn/
sudo cp pki/issued/server.crt /etc/openvpn/
sudo cp pki/private/server.key /etc/openvpn/
sudo cp pki/dh.pem /etc/openvpn/
sudo cp ta.key /etc/openvpn/
Step 10: Create the OpenVPN Server Configuration File
Create a new file at /etc/openvpn/server.conf and add the following content,
modifying it according to your needs:
# the port number on which the server will listen for incoming VPN connections
port 1194

# the protocol to be used for the VPN connection (either udp or tcp)
proto udp

# specifies that we are using a routed tunnel interface
dev tun

# path to the Certificate Authority (CA) certificate
ca /path/to/ca.crt

# path to the server's certificate
cert /path/to/server.crt

# path to the server's private key
key /path/to/server.key

# path to the Diffie-Hellman parameters file
dh /path/to/dh.pem

# path to the TLS authentication key and its direction (0 = server, 1 = client)
tls-auth /path/to/ta.key 0

# the IP address range to be used for client VPN connections
server 10.8.0.0 255.255.255.0

# file to persistently store the IP addresses of connected clients
ifconfig-pool-persist ipp.txt

# push options to redirect the client's default gateway, bypassing DHCP
push "redirect-gateway def1 bypass-dhcp"

# push options to specify the DNS servers to be used by the VPN clients
push "dhcp-option DNS 8.8.8.8"
push "dhcp-option DNS 8.8.4.4"

# allow communication between VPN clients
client-to-client

# allow multiple clients to connect with the same certificate
duplicate-cn

# keepalive ping and timeout
keepalive 10 120

# encryption cipher to be used for the VPN connection
cipher AES-256-CBC

# hash algorithm to be used for HMAC authentication
auth SHA256

# user and group to drop privileges to after startup
user nobody
group nogroup

# persist the key across tunnel restarts
persist-key

# persist the tunnel device across tunnel restarts
persist-tun

# path to the log file for connection status
status openvpn-status.log

# verbosity level of OpenVPN log output (3 is the default)
verb 3

# notify the client to exit when the VPN connection is terminated
explicit-exit-notify 1
Step 11: Start the OpenVPN Server
sudo systemctl start openvpn@server
sudo systemctl enable openvpn@server
Your OpenVPN server is now up and running! The next steps would be to generate client certificates and configure the OpenVPN client accordingly.
Step 12: Configure OpenVPN Client
For each client, you will need to create a client certificate and key. Follow these steps to configure the OpenVPN client.
- Build the client certificate and key:
./easyrsa build-client-full <name> nopass
- Create a new OpenVPN client configuration file:
sudo vim <name>.ovpn
You have two options to create the client OpenVPN configuration (.ovpn) - standard and portable.
- Standard - the standard one refers to the
cacert, clientcert, clientkey,tls-authkey as separate files. Here is a basic configuration:
# configures the OpenVPN client mode
client

# specifies that we are using a routed tunnel interface
dev tun

# specifies that we are using the UDP protocol. (TCP is supported as well)
# Both server and client need to match protocol (either UDP or TCP)
proto udp

# specifies the IP address and port of the OpenVPN server. 1194 is the standard port for UDP
remote YOUR_SERVER_IP 1194

# specifies that the client should keep trying to resolve the server IP indefinitely
resolv-retry infinite

# allows the client to choose any available UDP port
nobind

# user that the client will run the openvpn client
user nobody

# group that the client will run the openvpn client
group nogroup

# persists the key across tunnel restarts
persist-key

# persists the tunnel device across tunnel restarts
persist-tun

# links to the CA certificate
ca /path/to/ca.crt

# links to the client certificate
cert /path/to/<name>.crt

# links to the client private key (NOTE: Keep the key in secret)
key /path/to/<name>.key

# The TLS authentication key adds an extra layer of HMAC authentication to the TLS control channel
tls-auth /path/to/ta.key 1

# ensures that the server certificate was signed by a trusted CA (specified in the ca option)
remote-cert-tls server

# specifies the encryption cipher to be used for the VPN connection
cipher AES-256-CBC

# specifies the hash algorithm to be used for HMAC authentication
auth SHA256

# specifies the verbosity level of OpenVPN log output
verb 3
- Portable - the portable one embeds the
cacert, clientcert, clientkey,tls-authkey in theovpnconfig file so you can move it around without the need to copy other files as well. Here is a basic configuration:
# configures the OpenVPN client mode
client

# specifies that we are using a routed tunnel interface
dev tun

# specifies that we are using the UDP protocol. (TCP is supported as well)
# Both server and client need to match protocol (either UDP or TCP)
proto udp

# specifies the IP address and port of the OpenVPN server. 1194 is the standard port for UDP
remote YOUR_SERVER_IP 1194

# specifies that the client should keep trying to resolve the server IP indefinitely
resolv-retry infinite

# allows the client to choose any available UDP port
nobind

# user that the client will run the openvpn client
user nobody

# group that the client will run the openvpn client
group nogroup

# persists the key across tunnel restarts
persist-key

# persists the tunnel device across tunnel restarts
persist-tun

# ensures that the server certificate was signed by a trusted CA (specified in the ca option)
remote-cert-tls server

# specifies the encryption cipher to be used for the VPN connection
cipher AES-256-CBC

# specifies the hash algorithm to be used for HMAC authentication
auth SHA256

# specifies the verbosity level of OpenVPN log output
verb 3

# links to the CA certificate
# embed the Certificate Authority certificate
<ca>
# insert the contents of your ca.crt file here /path/to/pki/ca.cert
</ca>

# links to the client certificate
# embed the client certificate
<cert>
# insert the contents of your /path/to/pki/issued/<name>.crt here
</cert>

# links to the client private key
# embed the client key
<key>
# insert the contents of your /path/to/pki/private/<name>.key file here
</key>

# the TLS authentication key adds an extra layer of HMAC authentication to the TLS control channel
# embed the TLS authentication key for additional security
<tls-auth>
# insert the contents of your /path/to/openvpn-ca/ta.key file here
</tls-auth>

# this tells OpenVPN that the ta.key is embedded in the configuration file
# and should be used for HMAC authentication as a client.
tls-auth inline 1
- Save and exit. Download the
<name>.ovpnconfiguration and use some of the popular vpn clients that support OpenVPN:
Now you are good to go! You can surf the internet securely.
(Optional) Gift
If you don’t want to re-read this tutorial to issue client configurations once
in a while because you don’t remember and command exec sequence, here is a quick
Makefile that will simplify the creation of a client configuration.
- Go to
/path/to/openvpn-ca vim Makefile- Paste the following content:
SHELL := /bin/bash

CLIENT ?= client1
EASYRSA_DIR ?= .
PKI_DIR ?= $(EASYRSA_DIR)/pki
TA_KEY ?= $(EASYRSA_DIR)/ta.key
OUTPUT_DIR ?= $(EASYRSA_DIR)/clients
OVPN_TEMPLATE ?= $(OUTPUT_DIR)/client.ovpn.template

.PHONY: help client

help:
	@echo "Usage:"
	@echo "  make client CLIENT=<client_name>"
	@echo "    Generates an OpenVPN client configuration file for the specified client."
	@echo "    If <client_name> is not provided, 'client1' is used as the default."

client:
	@mkdir -p $(OUTPUT_DIR)

	@$(EASYRSA_DIR)/easyrsa build-client-full $(CLIENT) nopass

	@cat $(OVPN_TEMPLATE) > $(OUTPUT_DIR)/$(CLIENT).ovpn
	@echo -e "<ca>\n$$(cat $(PKI_DIR)/ca.crt)\n</ca>\n<cert>\n$$(cat $(PKI_DIR)/issued/$(CLIENT).crt)\n</cert>\n<key>\n$$(cat $(PKI_DIR)/private/$(CLIENT).key)\n</key>\n<tls-auth>\n$$(cat $(TA_KEY))\n</tls-auth>" >> $(OUTPUT_DIR)/$(CLIENT).ovpn

	@echo "Client configuration for $(CLIENT) created at $(OUTPUT_DIR)/$(CLIENT).ovpn"

default: help
- Save and exit
Whenever you need to issue a new client configuration you can just run:
make client CLIENT=<name>
If you forget the make client CLIENT=<name> command execution, just run make and it will
print you the help section.
Troubleshooting
- If you receive similar messages on the server side:
ovpn-server[460342]: Authenticate/Decrypt packet error: packet HMAC authentication failed
ovpn-server[460342]: TLS Error: incoming packet authentication failed from [AF_INET]<remote_ip>:<remote_port>
Most probably the client configuration around tls-auth is not configured correctly.
Make sure that the client tls-auth option is set to 1 and the server tls-auth is set to 0.